Cutting boards for everyday preparation
A cutting board should give ingredients room to move while fitting the counter, sink and storage space. The largest board available is not necessarily the one that will be cleaned and used most conveniently.
Choose a working area, not just a serving shape
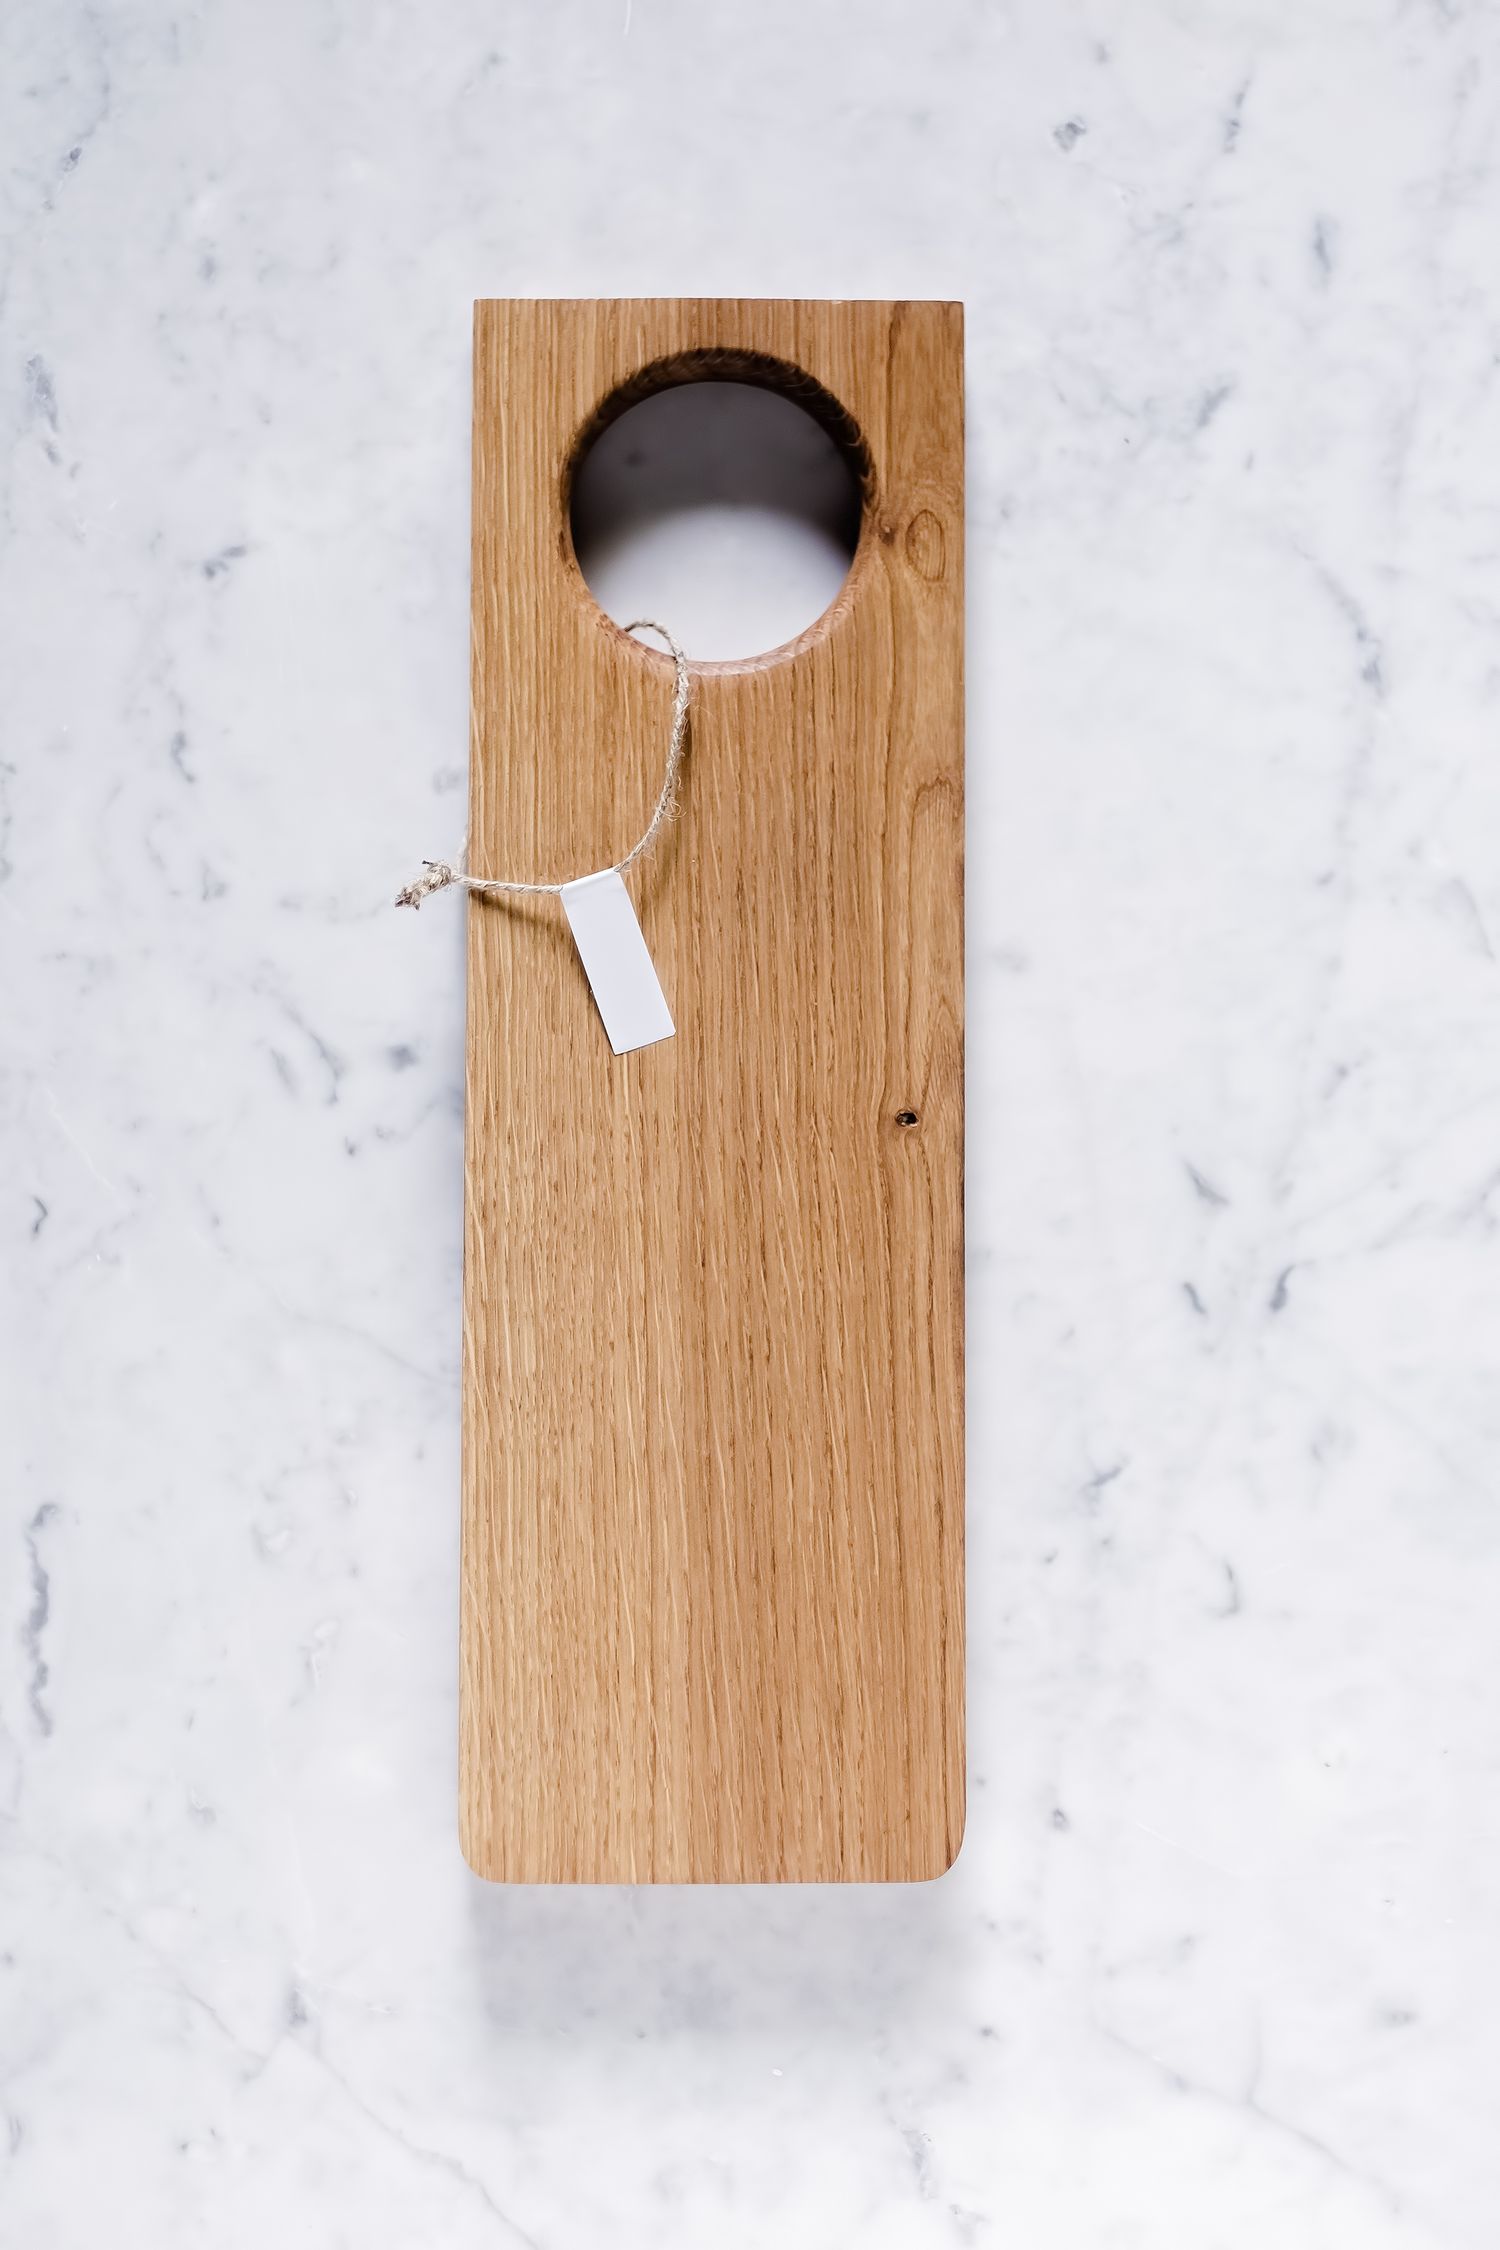
Place a paper outline on the counter and imagine the ingredients for an ordinary meal. Leave space for the knife's movement and for food that has already been cut. A decorative handle can be useful for carrying but reduces the usable area if it is included in the advertised length. Check that the board sits completely on a suitable work surface rather than bridging an unsupported gap.
Measure the sink and the place where the board will dry. A large board that cannot be turned comfortably in the sink may be inconvenient to wash. Thin flexible mats and thick rigid boards are different tools: one may help transfer chopped ingredients, while the other provides a more substantial working surface. Compare their intended use rather than expecting the same behavior from both.
Plan separation before preparation
USDA guidance emphasizes separating equipment used for raw meat, poultry and seafood from food that will be eaten without further cooking. A clear household system can use designated boards or another arrangement consistent with official food-handling guidance. Color alone is not a cleaning method. Make sure everyone preparing food knows which board is intended for which task and how it should be cleaned afterward.
A second board can also make ordinary workflow easier. For example, bread and vegetables need not wait on a board still occupied by another preparation task. Choose sizes you can store and wash rather than buying a large matching set with several pieces that have no clear role. Keep the identification method simple enough to remain understandable after the packaging has been discarded.
Compare surfaces and edges
Read the board and knife manufacturers' material guidance. Do not assume a hard decorative surface is automatically a suitable cutting surface. Grooves may help collect some liquid but reduce the flat area and add channels to clean. Raised edges, feet and handles should be assessed for the way the board will sit and be carried, not only for appearance.
If the board has nonslip components, check their condition and compatibility with the counter. A board that moves unexpectedly needs a suitable correction before cutting continues. Avoid improvised supports that make it uneven. Inspect both sides and edges for damage, and follow the maker's replacement guidance when the surface can no longer be maintained as intended.
Store only after appropriate cleaning
Follow the actual material's cleaning and drying instructions. Dishwasher suitability should be stated for the particular board, not inferred from a broad material name. Wood, composite and plastic products can have different care requirements. Allow the board to dry as directed before placing it in a tightly enclosed slot.
Choose storage that lets you remove a board without passing your hand across exposed knife blades. Vertical storage can save counter space, but it should support the board securely. Keep care information with the product record so a later cleaning routine does not rely on memory or on the instructions for a different board.