French presses and replacement parts
A French press is easier to keep in use when its beaker, filter assembly and small replacement parts can be identified. Look beyond the advertised capacity and check how the particular model comes apart before buying it.
Capacity and the complete footprint
Compare the stated liquid volume with the cups you normally fill. A named cup count may describe smaller servings than your usual mug. Also allow for the maker's filling limit and the space needed by the plunger. A large press can be awkward for one person, while a small one may require several separate brews when guests arrive.
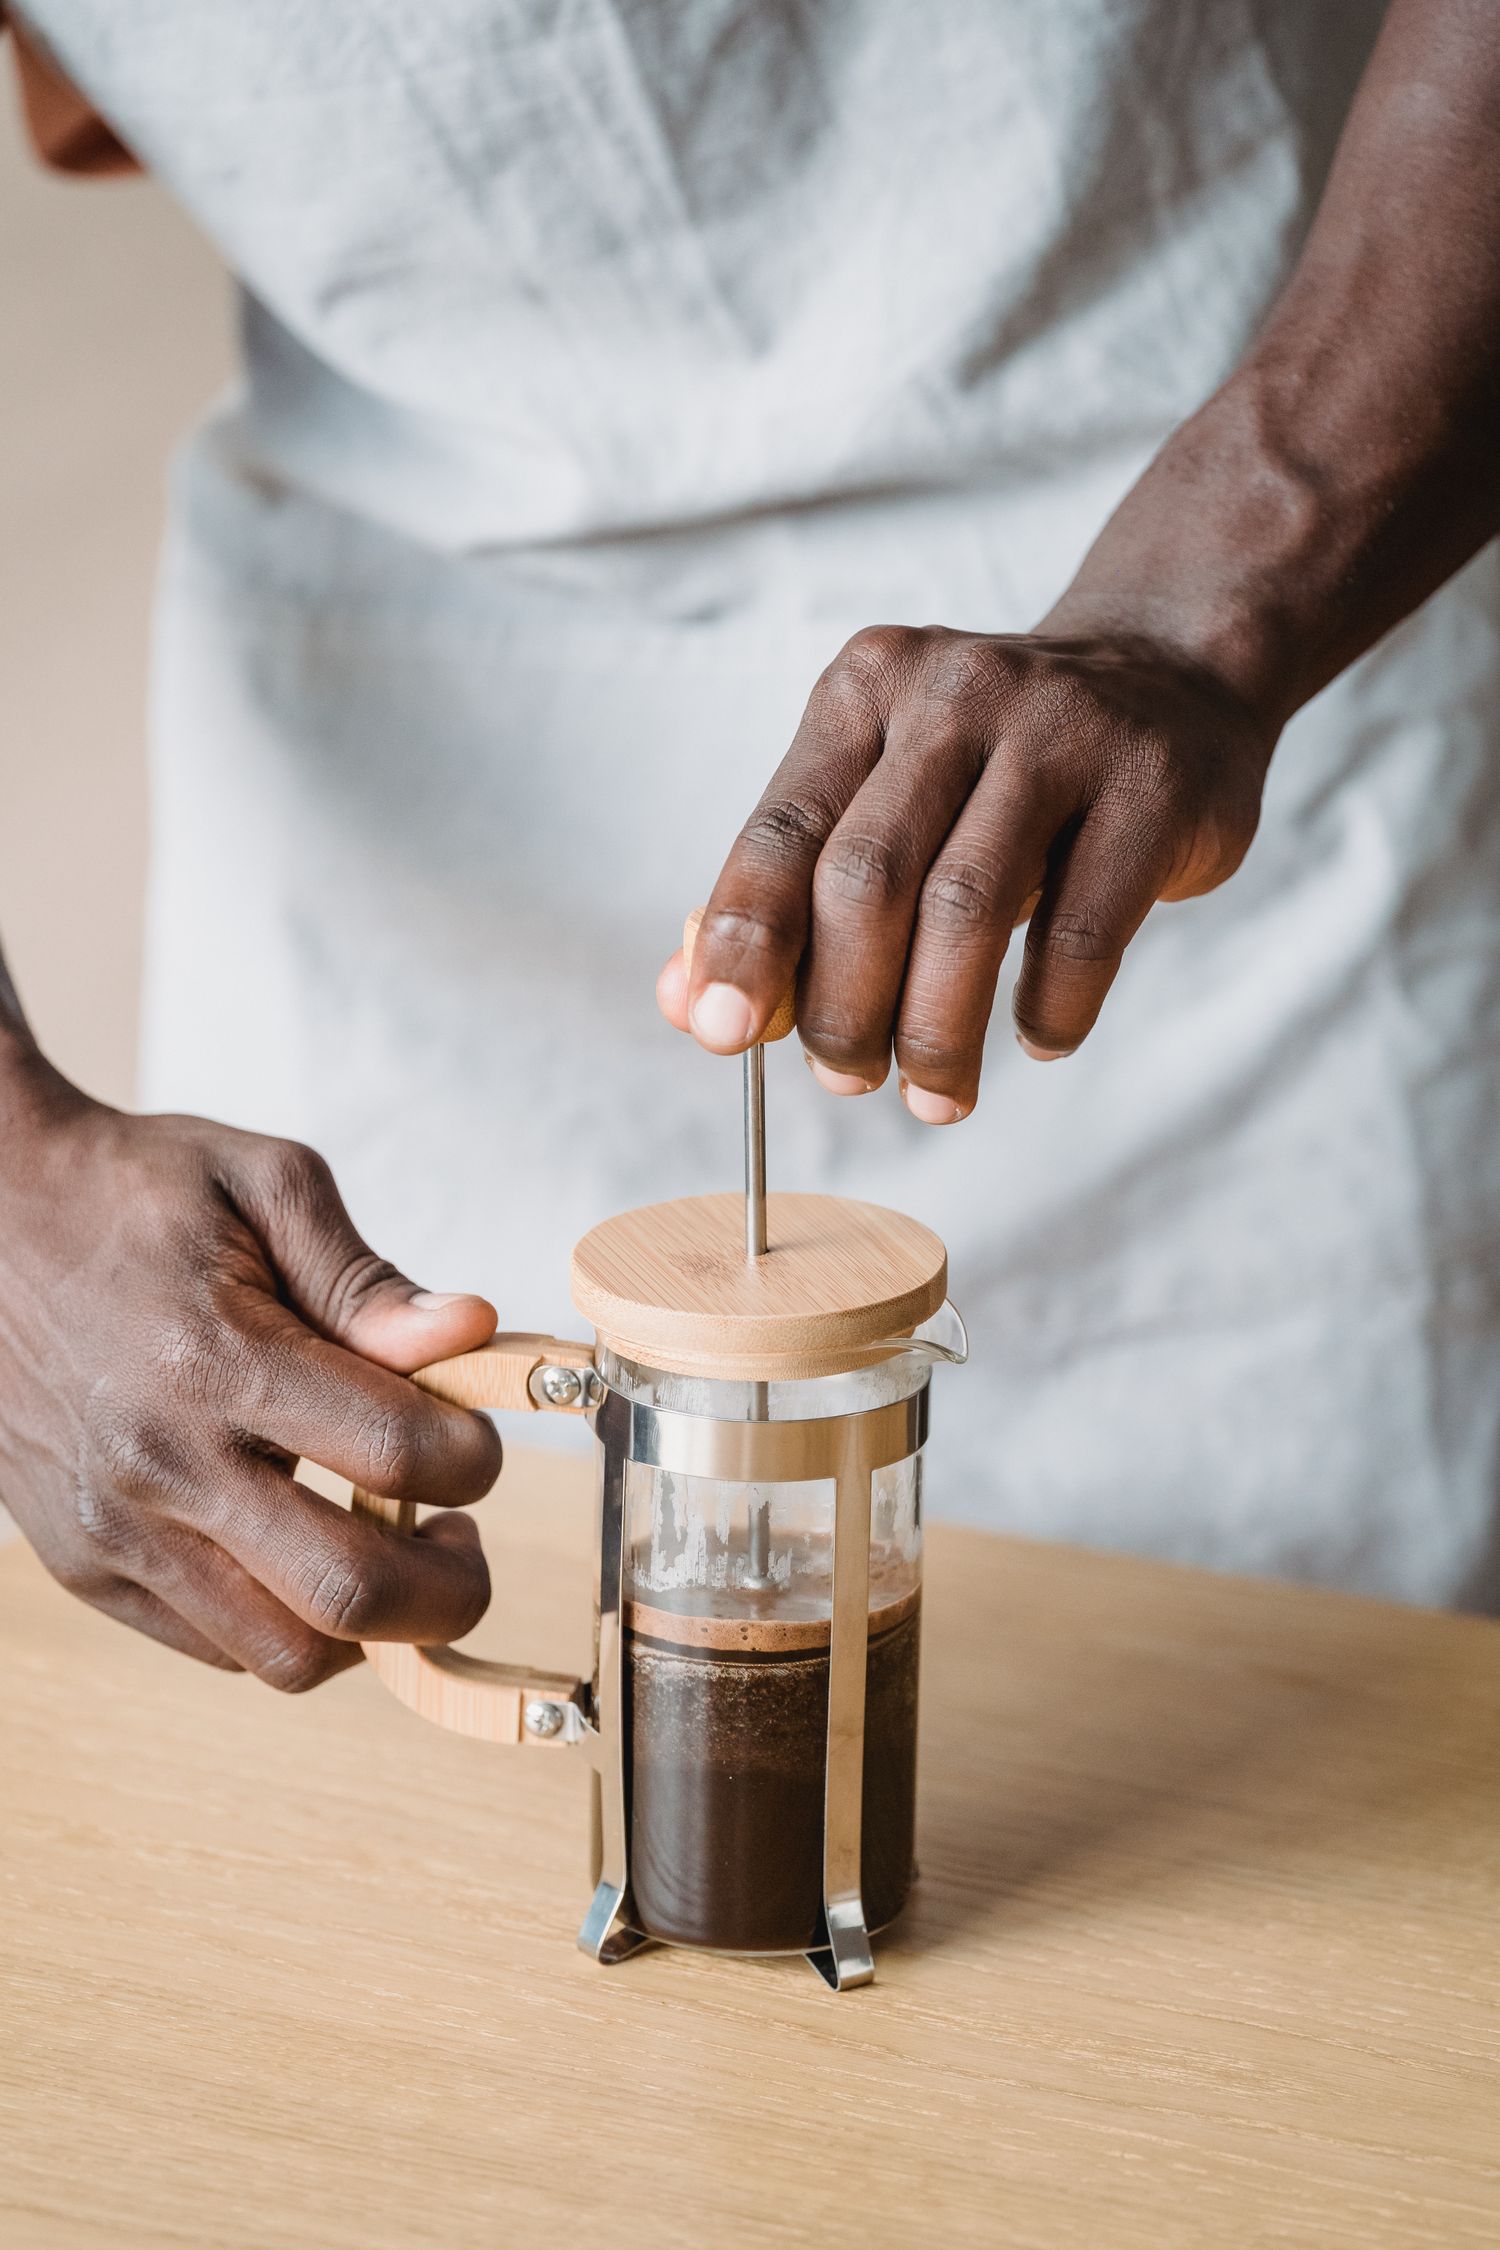
Measure the assembled height with the plunger raised as well as lowered. The handle and spout add to its width, and a surrounding frame may make it bulkier than the glass alone suggests. Consider storage on a shelf and cleaning in the sink. The press should stand securely and leave enough room for your hand around the handle without contacting neighboring objects.
Replacement parts need a model match
Before purchase, look for the manufacturer's model name or article number and an actual spare-parts route. Bodum's spare-parts listings, for example, distinguish different beakers and components. That is a useful prompt to investigate the exact part for a particular press, not evidence that every beaker fits every model. Availability and compatibility should be checked again when a replacement is needed.
For an existing press, photograph its markings and compare the original part's shape, dimensions and stated capacity with the replacement information. A beaker that slides into the frame may still differ at the rim or spout. Filter plates, screens and rods also need the correct fit. Ask the manufacturer when the identification is uncertain rather than choosing a part solely because it looks close in a photograph.
Understand disassembly before the first wash
Read which components may be removed and the order in which they are reassembled. A filter stack can contain several thin parts whose orientation matters. Keep them together during cleaning, and use the instructions or a reference photograph to restore the intended arrangement. Do not turn a fixed fitting simply because a similar-looking press can be taken apart at that point.
Check the cleaning instructions for the glass, frame, lid and filter separately. One dishwasher-safe component does not establish that the entire press can go through the same cycle. Look for places you can reach easily to remove grounds. If a part is difficult to clean or inspect while attached, find out whether the maker permits its removal rather than improvising a tool or forcing the connection.
Inspect the assembly before brewing
Treat cracks, damaged rims, distorted filter parts and a loose handle as reasons to stop and assess the product according to its instructions. A new beaker does not repair a damaged frame. Use the correct parts and intended assembly, and follow the maker's filling and pressing directions. If the plunger resists unexpectedly, do not assume that more force is the appropriate solution.
Keep the model details and care instructions somewhere easy to find. When comparing purchase options, include the likely practicality of replacing a broken beaker or worn filter, but do not assume parts will remain available indefinitely. A clear parts diagram and identifiable components are more useful than an unsupported promise that the press will last forever.